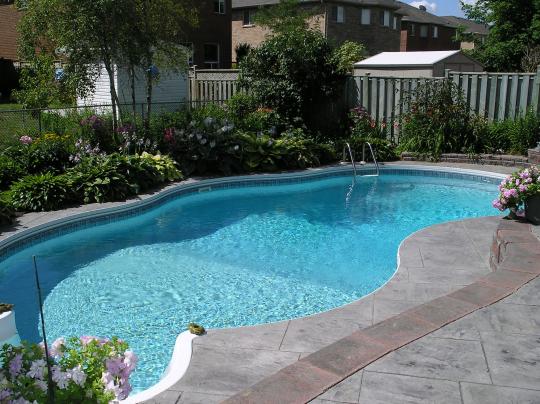
Installing an in-ground pool may seem like a daunting and intimidating task. Given this type of project is a large undertaking; the steps can be quite simple. Excavating the land, building the outer walls, and finally laying the concrete are the major steps involved in this type of project. Of course there is still one more key part, which includes wiring the pump and heater if you choose to have one. The National Electric Code (NEC) defines the requirements for wiring an in-ground pool.
Pool Pump Wiring
For a permanent pool the pump motor and it components should be placed anywhere from 6 to 10 feet from the inside of the pools wall. The power outlet must be a single twist lock and a GFCI protected outlet. The outdoor pump must be weather proof with a cover that can be sealed when the pump is plugged into a power source. All electrical parts should be UL listed or tested, UL stands for Underwriters Laboratory. The line for a permanent pool pump must be a continuous line going from the pump straight to the electric panel, and it is required to be isolated from any other device. The gauge of ground wire can be no less than a #12 gauge copper wire and must be ran in conduit. Your electrical conduit must be buried at least 18” deep or if it is Ground Fault Protected 12” deep.

Bonding
All metal parts must be bonded together using at least 8 gauge or larger copper wire. The conductive shell of the pool must be bonded in 4 locations equally spaced apart. This is to prevent electric shock and ensure proper grounding methods. When using a non-conductive pool shell you must use at least 8 gauge copper wire that is buried 4-6 inches below the grading of the pool. This wire should be placed 18 to 24 inches away from the side of the pool wall and is used for starting and stopping the pool pump. When connecting wire remember to use non-corrosive clamping.
Other Construction
During the excavating and building process you will also need to install any drainage piping and light fixtures that will be in the bottom and side walls of the pool. Once all of your plumbing and wiring has been laid out you can continue with pouring the concrete bottom. After the concrete bottom and outer walls have been installed you can install the pool liner, which is the softer water resistant cover for the concrete base. Back fill the outer edges to create a smooth surface and you are almost there. You can now add your accessories such as hand rails, decorations, and lay out your surrounding pool deck.
It is important to note that you have all electrical work done by a licensed electrician. Electricity and water do not mix and you want to make sure that the installation was performed correctly. Do the necessary planning and surveying of your property to make sure this permanent installation lasts you a long time without any future headaches.
Nick Quinlan is a creative writer from Orlando, Florida. He currently writes content and blogs for BobHeinmillerSolar.com. Nick has resourceful nature and diverse interests make him an asset to their team.