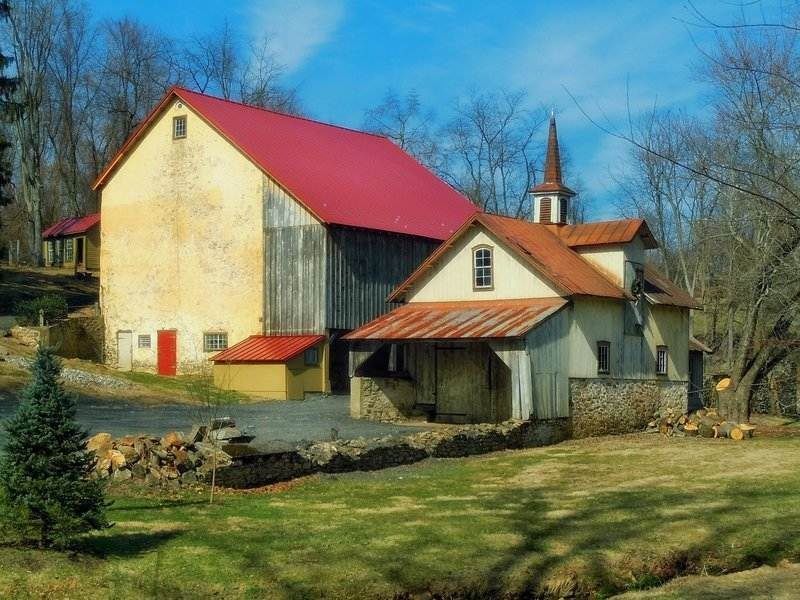
A shed is an essential item for loads of storage needs, for outdoor equipment and tools. It can also be defined as a great place for work related projects, which cannot be cluttered inside the garage areas. However, building a shed is not that difficult if you are well acquainted with the proper steps, to follow. For that, you are likely to come into touch with the best professionals, first. Now, the style and design might differ from one shed to another, depending on the usage values. For the basic rural sheds, you are asked to follow the steps, in a proficient manner.
Steps to Create The Best Sheds:

You can level the ground and install small pieces of deck piers. It comes with an extra grid support for the sheds. The piers can also be used in order to string the proper support beams, just beneath the shed of the floor.
- In some parts of the world, you need to take the permit of legal jurisdictions, before going for any in-ground foundation work. In case, you want to avoid this part, you are asked to build a shed on the ground, by replacing the beans with pressure treated lumber. These are highly approved for any ground contact.
- The next step is somewhat crucial, and you need to take help of professionals, for this segment. You have to string support beans in length, just across the piers. These are used to support the present floor joists, which mainly run in a completely opposite direction. The best way to attach the beams is with the help of metal straps, which comprise built-in nail holes.
- Now, it is time for you to attach joists, associated with support beans of rural sheds. These are used to separate the beams from getting blocked. For this section, you need to attack rim joist, along the outer layer of the support beam. These are well associated with the same length, as the size of the underneath beam.
- For the next step, you are supposed to install a wide collection of joists. These must be of the same length, to fit in-between length. In order to make the floor joists moving, you have to install blocking piece, between the floor pairs. It comes with support beam center. You can now try to nail the plywood sheeting, in order to form a strong and durable floor.
- After you are done with the floor region, next are the four walls of rural sheds. The front walls as well as back walls are completely different from one another. Moreover, the side walls must be designed in a sloppy structure, and you need to tackle the walls, in a completely different manner. It is quite easy to construct the back side of the shed first and then the front second. The two sides need to be constructed in the last.
- Now, it is time for you to build rafters, just across the roof region. These must overhang the walls, associate with your shed, along with increased weather protection. You can simplify the measurements by spacing the rafters, in the same way, like the floor joists. After you are done with this segment, you are likely to attack the pieces of clocking the rafter pairs, with the top plates.
For the final step, you are asked to add tar paper, on top of the roof of rural sheds. You are asked to start from the roof slope and work the way in an upward direction. Take extra precautionary measures to see if the paper level can overlap with the second one, placed below. These will prevent the rain drops to get inside the cracks and use shingles for extra safety means.
If you carefully follow the above mentioned tips then you will definitely able to create best rural sheds according to your need. Keep in touch to get few more useful information about hay sheds and farm sheds.