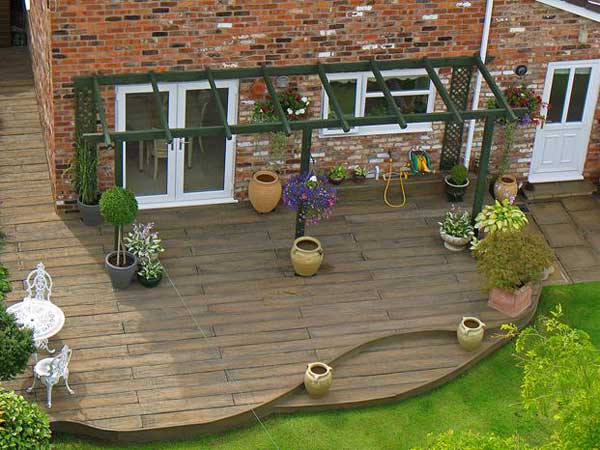
Rustic wooden decks are charming additions to any home and many homeowners enjoy them even more during the spring or summer months when they can emerge from their winter isolation to bask in the improved weather and the increased sunlight.
However, since the decks are comprised of wooden decks, they also run the risk of collapsing from natural wear and tear. The good news is that it is still possible to refurbish old wooden decks with new joist hangers, among other things, so that they’ll be good as new in time for the summer or spring months.
The following steps describe the process of revamping an old wooden deck:
- Measure out and trim some wooden stakes into 2” x 4” pieces. Use these along with 2” x 6” diagonal braces to secure the existing deck onto the house temporarily.
- Some worn wooden decks tend to sag below their initial height, so you can bolster them by tapping some temporary support posts underneath with a sledgehammer.
- Measure and mark about 3 inches below the top edge of the ledger board and drill a hole that’s about half an inch in diameter into the said position. Make sure you drill directly onto the ledger board and not onto the house’s sill plate.
- Using an impact wrench, secure a ½ inch x 10 inch galvanized lag screw into the hole made in the previous step.
- Repeat steps 3-4 for each joist bay of the existing deck.
- Attach a masonry bit that is about a half inch in diameter to your drill and then drill a hole atop the surface of the ledger board such that your drill penetrates down onto the foundation underneath.
- Install the first masonry anchor by tapping a masonry wedge anchor that measures about ½ inch x 10 inch into the hole made in the previous step with a hammer.
- After tapping the anchor into place, use an impact wrench to secure it further. Rotate the wrench around the hex nut of the anchor to tighten it.
- Measure about 38 inches from the first masonry anchor and then follow the previous three steps to install the second masonry anchor.
- Repeat step 9 until all the masonry anchors have been installed or until the entire width of the deck has been secured with them at every 38-inch mark.
- Check on the current joist hangers holding up the deck boards. Mark the ones that are rotting and are in need of refurbishing.
- Acquire the required number of engineered lumber joist hangers needed to reinforce the existing joist hangers.
- Use a 2” x 6” wooden block to position the half of each pair of engineered lumber joist hangers over the half of each pair of joist hangers that need to be reinforced.
- Hammer the sides in with some galvanized hanger nails.
- Do the same for the other half of the first pair of engineered lumber joist hangers.
- Repeat steps 13-15 for the other pairs of joist hangers that require reinforcement.
- Once you’ve finished, you can carefully remove the temporary supports underneath the deck.
