Getting a sealant ready to protect your garage door from the severe winter conditions may be an easier process. When properly done, these sealants can be useful not only in winter, but also during other seasons. Using these sealers that can cover all the annoying gaps that otherwise could cause problems for your garage and materials are placed inside it.
There are different materials and tools required to create a cover seal to the areas where needed. Some of them include door seal, knife, cleaning set, glue and tape.
Step 1: – The Selection of a Seal
Different types of materials used in manufacturing door seals these days. The options available to you in this regard are virtually endless. However, it is necessary to elect a board of garage door is very effective in keeping the light and air away from materials that remain inside the garage. Sealant kits that are commercially available can vary in price depending on where exactly to be used in your garage. First, you should check the floor of your garage and see if materials include concrete or asphalt.
Checking all points will help you choose a team of an appropriate sealant for your purpose. These sealants are available at hardware stores in your area as well as online stores. It is best to consult an expert in your area and get to know if any of sealant materials get wasted away due to external elements such as snow and rain.
2nd Step: – Cleaning Garage Door
Cleaning the garage area is the next step you need to perform. This step is essential and must be addressed before proceeding with the installation processes sealant. You must completely remove debris, dust and dirt that have accumulated in place for a period of time. It’s important to note that when working in hot climates like doing garage door repair phoenix be sure to check for scorpions and rattlesnakes. You can always use a degreasing soap with warm water to clean the work area, especially the regions that are close to the garage door water. Make sure that the place is dry before proceeding to the next step.
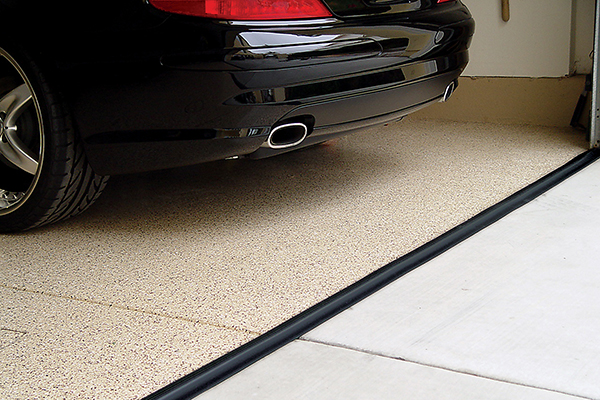
3rd Step: – Alignment and Adding the Seal
In this step, you first need to measure the exact length of the board is needed to protect its place and then the remaining part of it is cut. Make sure the cover seal is in the correct position. You can always consult your owner’s manual for this step. Select the region using a pen or marker. Then add the glue within the region marked before sticking the label of the same.
Step Four: – Test your Garage Door
Once the above steps are completed, the door must be opened and closed without much problem. You may have to wait a few days for adhesives for completely dry before testing your garage door.
For more information, to purchase parts or to schedule a repair in Arizona be sure to check out http://performancedoorservice.com